As a teacher, adverse weather meant heavy rain. Days like these were when children would be kept indoors. Indoor breaks meant they didn’t have a chance to run off energy and therefore their focus in lessons was diminished. Like many teachers, I found Cosmic Kids Yoga or Go Noodle were a life saver. The children could burn off some of that energy and it would help them focus.
However, as an outdoor practitioner, rain no longer bothers me. Children don’t melt in the rain! We build a den, get cosy and get on with it. Indeed, some of my favourite sessions have been in torrential rain. There’s a real sense of coming together, teamwork and perseverance in adverse conditions.
But now, the adverse weather that does stop me is the wind. I am sat looking out my window, as the twigs lightly sway. I would hazard a guess that the winds are around a 3 on the scale, with winds of 8-12 miles per hour. Having checked the Met office, the prediction is that winds are indeed 12mph but with gusts up to 21mph.
But why does this impact our outdoor session? Well, as you know, winds cause damage. Winds of 40mph can cause twigs to break off the trees, and just 47mph can see who branches coming down! We run our sessions beneath the trees, we do not want to be there when that happens!
But if you are a parent or teacher, what can you do to help your children learn on windy days?
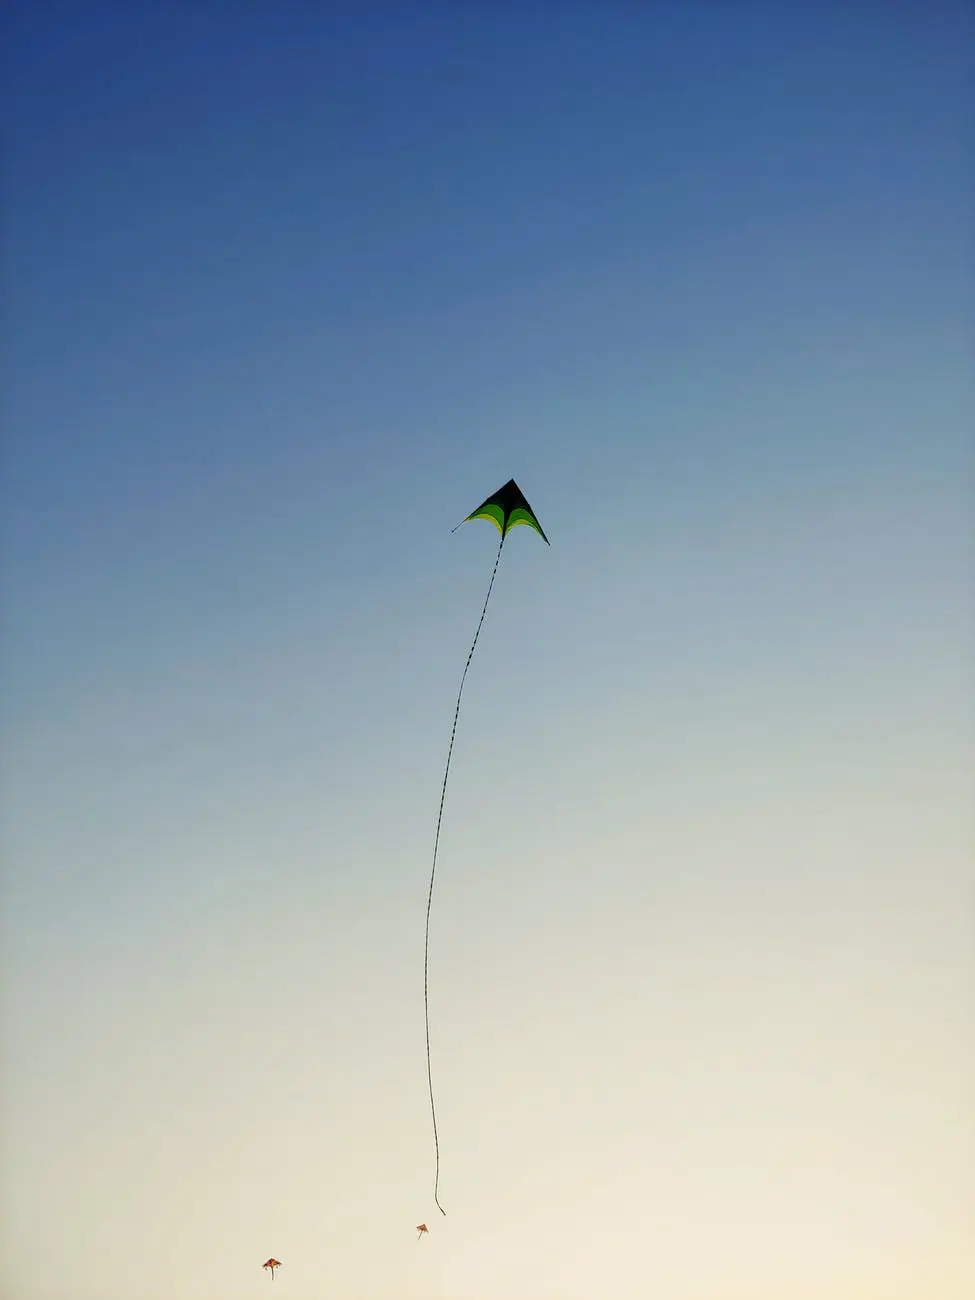
The obvious activity is making kites! As a STEM (science, technology engineering, maths) activity this is a great one. Can children problem solve to work out the best design of kite? Do different shapes make a difference? Does a tail impact how it flies? An afternoon spent problem solving these questions and getting outside to experiment solutions can be very educational as well as fun.

We also love the above image from Kindling. They wrote a wonderful blog about winds which talks a lot about what we need to look out for to ensure we keep everyone safe. This is well worth a read and can be found here. But can your child or class create their own version of this? Can they personalise it and add details as to what they see in their own gardens or playgrounds?
You could also try making an anemometer (the tool used to measure wind speed). We have noted the instructions below, which has been tried and tested by us!
So, whilst a windy day isn’t a day we want to be beneath the trees, it can definitely still be a day for learning! We would love to see and hear about what you get up to on windy days!
If you would like more ideas then please join our mailing list below!
We also have our Facebook Page and teacher group where you can hear about our upcoming events. Or you can find out about our upcoming training sessions in West Lothian which care open to all childcare professionals.
How to Make an Anemometer
- Single-hole punches to share
- Stopwatch
- Markers
- 5 paper cups
- 2 Straws
- Pushpin
- Sharpened pencil with rubber on the end
Step 1 – Take 4 of the cups and punch a hole in each, about 1.5cm below the rim
Step 2 – With the fifth cup, punch 2 holes in it, directly opposite each other, about 1.5cm below the rim. Then, punch two more holes in the cup, each 1 cm below the rim that are equally-spaced between the first two holes.
Step 3 – Make a hole in the centre of the bottom of the cup with four holes in it. The hole should be large enough that the pencil can fit easily through it.
Step 4 – Slide one of the straws through the hole in a cup that has only one hole in it bending the straw, tape it to the inside of the cup
Step 5 – Place the other end of the straw through two of the holes in the fifth cup and then through the hole in one of the other cups. Tape the end of the straw to the inside of the cup as you did earlier, making sure that the openings of the two cups face opposite directions.
Step 6 Repeat steps 4 and 5 with the remaining two cups. Make sure that the opening of each cup faces the bottom of the cup next to it (in other words, no two openings should be facing each other).
Step 7 – Insert the pencil with the rubber facing up through the bottom of the fifth cup. Carefully push the pin through the two straws and into the rubber on the pencil.
Step 8 – Take the permanent marker and draw a large X on the bottom of one of the cups. Your anemometer is now ready to use!
Take it outside and hold it in front of you in an open area where the wind is blowing. Look at the X on the bottom of the cup as it spins around. Count the number of times it spins around (revolutions) in 10 seconds. Use the table below to estimate the wind speed.
| Revolutions in 10 seconds | Wind speed in miles per hour |
| 2-4 | 1 |
| 5-7 | 2 |
| 8-9 | 3 |
| 10-12 | 4 |
| 12-15 | 5 |
| 16-18 | 6 |
| 19-21 | 7 |
| 22-23 | 8 |
| 24-26 | 9 |
| 27-29 | 10 |
| 30-32 | 11 |
| 22-35 | 12 |
| 36-37 | 13 |
| 38-40 | 14 |
| 41-43 | 15 |
| 44-46 | 16 |
| 47-49 | 17 |
| 50-51 | 18 |
| 52-54 | 19 |
| 55-57 | 20 |